Create an action
From Model → Actions, click + Add Action. The page builds up in one pass: choosing a connector and tool determines every field below it, so work top to bottom.
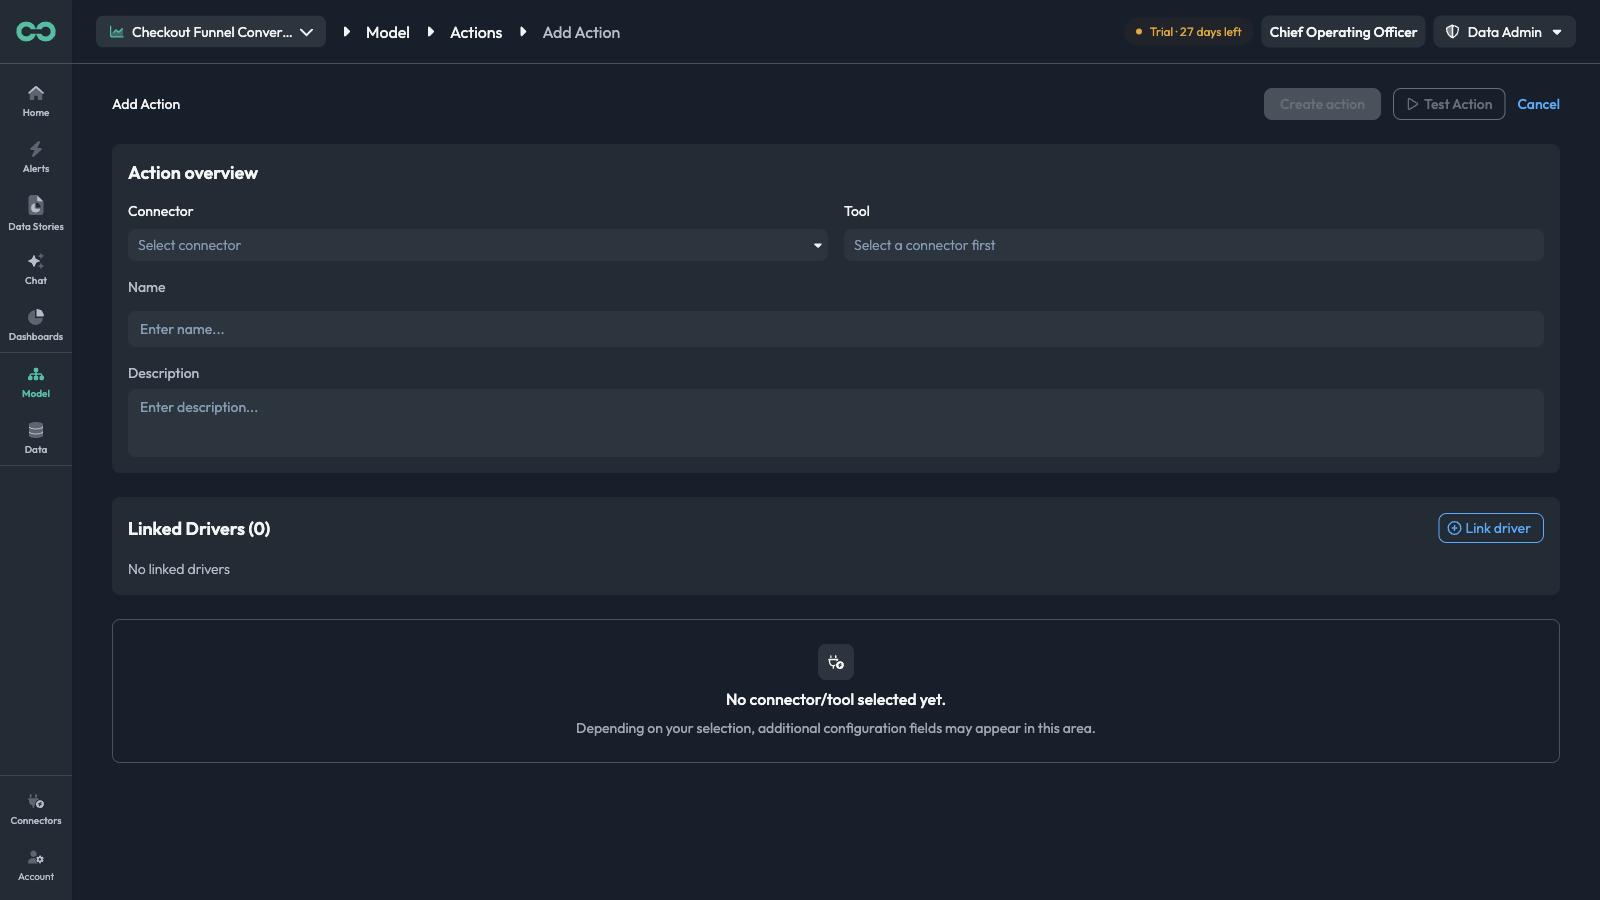
Until a tool is selected the configuration area reads "No connector/tool selected yet" — the parameters are supplied by the tool, so there is nothing to show yet.
1. Connector and tool
ConnectorThe connection to run through. The dropdown lists your existing connections by name, so a workspace connected twice appears twice — pick the one you intend.
ToolThe operation on that connector. Disabled until a connector is chosen, then it lists everything that connector exposes.
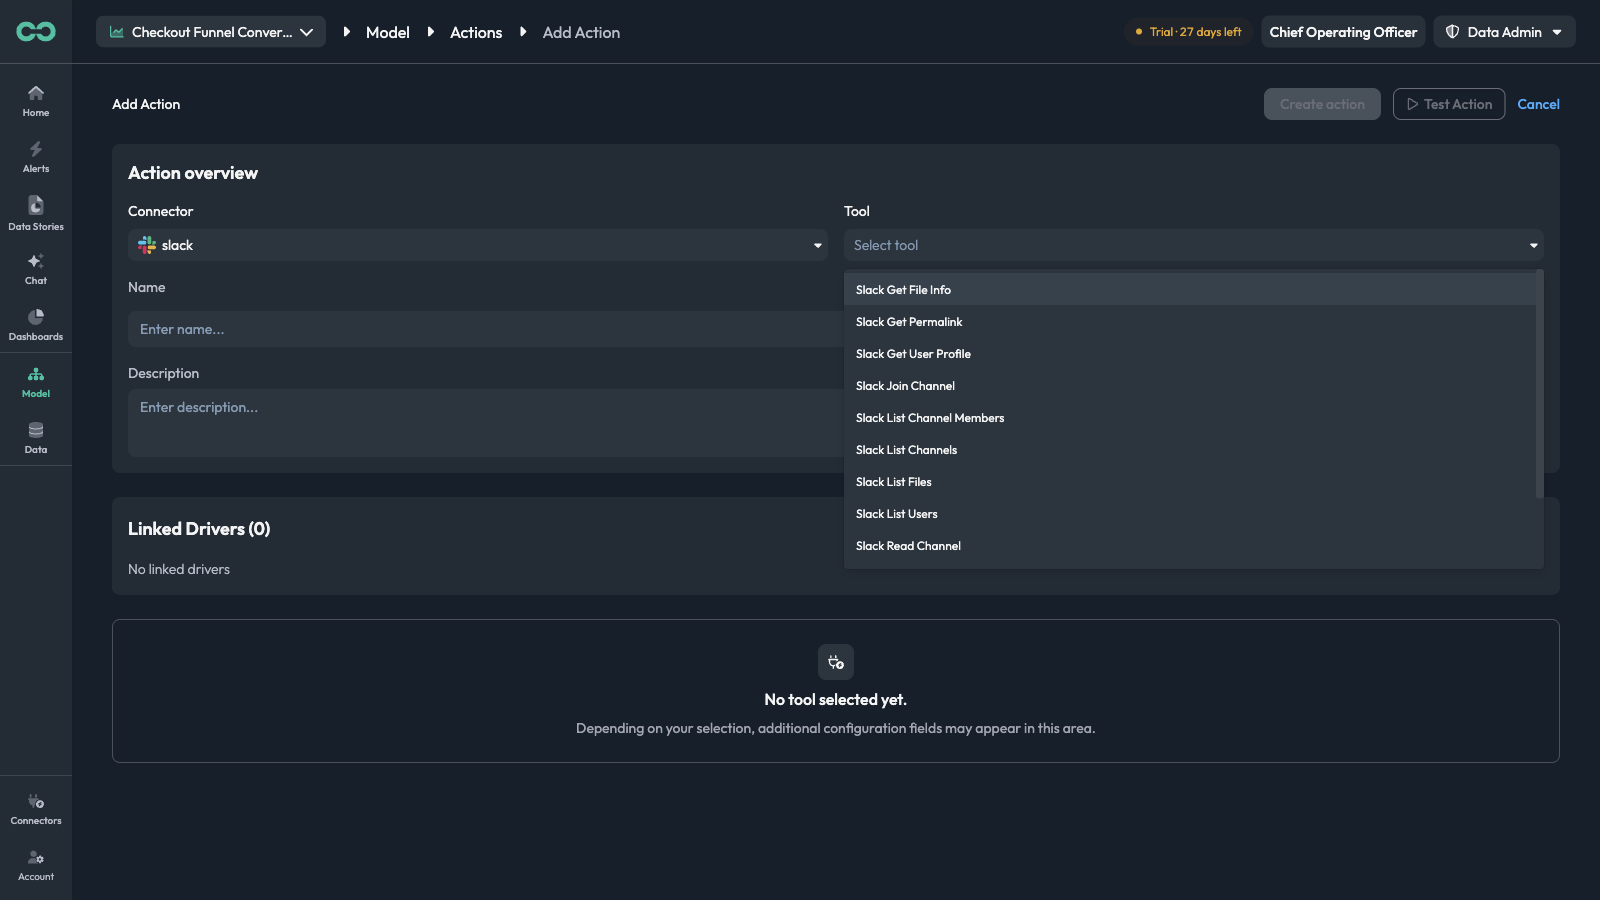
A single connector usually offers both read and write operations — a Slack connection lists Read Channel and List Users alongside Send Or Edit Message. For an action you almost always want a write: the thing that should happen, not a lookup.
Only connections that already exist appear here. Set the tool up under Connectors first — see Connectors Available.
2. Name and description
NameWhat the action is called in the driver's Next steps panel and in the resulting alert. See Naming actions.
DescriptionThe trigger condition and the effect, in one sentence. This is what someone reads when deciding whether to attach the action to a driver.
The convention across the catalog is when → what, and it is worth following:
When device-type or checkout-stage patterns show a drop in completed checkouts or total checkout attempts, posts a structured alert to the
#checkout-engSlack channel with the affected device type, stage, and anomaly severity so the frontend team can triage immediately.
3. Input parameters
Once a tool is chosen, its parameters appear — split into required fields and a collapsible Optional parameters (N) group.
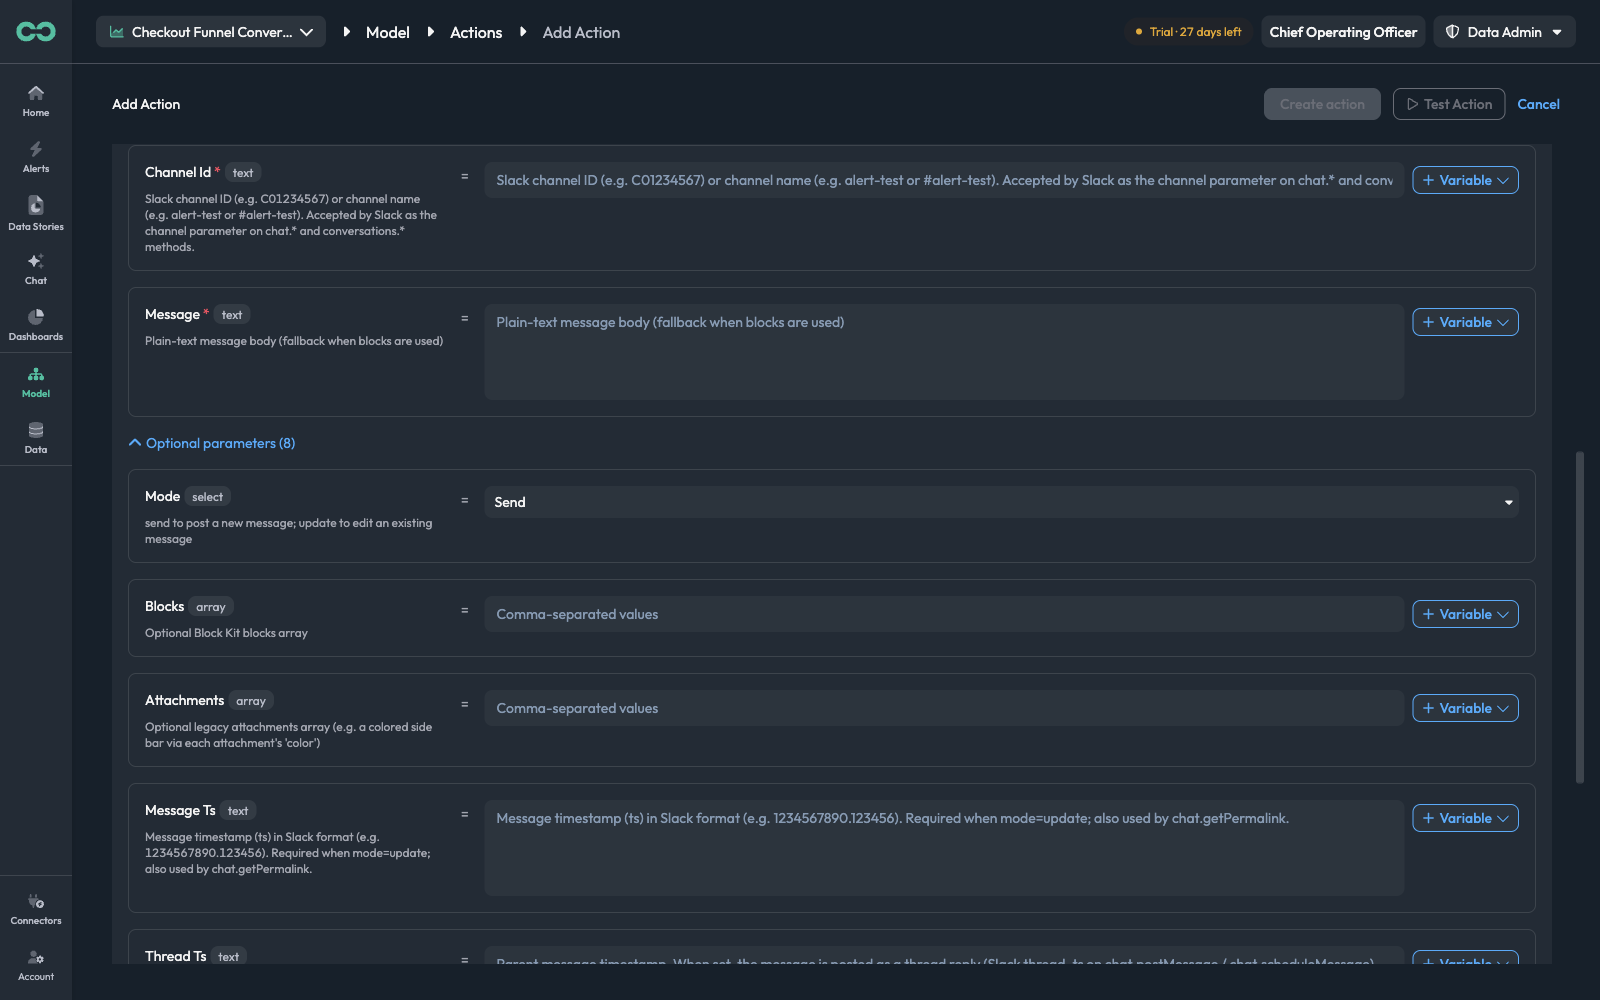
Each row is one parameter: its name, a type badge (text, select, array, boolean), the connector's own description of it, an =, and the value.
| Element | What it is |
|---|---|
Name with * | A required parameter — the action cannot be created without it |
| Type badge | The value shape the connector expects |
| Description | Supplied by the connector, including its accepted formats |
| Value field | A literal, or a variable reference, or both |
| + Variable | Inserts a declared variable into that field |
The panel says so directly: "These fields are defined by the connector and cannot be modified." You choose the values; the fields themselves come from the tool. If a parameter you expect is missing, the tool is the wrong one for the job.
The optional group is where the difference between a usable alert and a noisy one usually lives. For a Slack message it carries Mode (send a new message or update an existing one), Thread Ts (post as a thread reply instead of a new channel message), Blocks for rich formatting, and Reply Broadcast. Reading the descriptions there is worth the minute it takes — several optional parameters are conditionally required, and the description says when: "Required when mode=update."
4. Input variables
A parameter value can be fixed — a channel ID never changes. The interesting part of the message does: which KPI moved, which segment, by how much. Input variables are how you leave those blanks for the agent to fill.
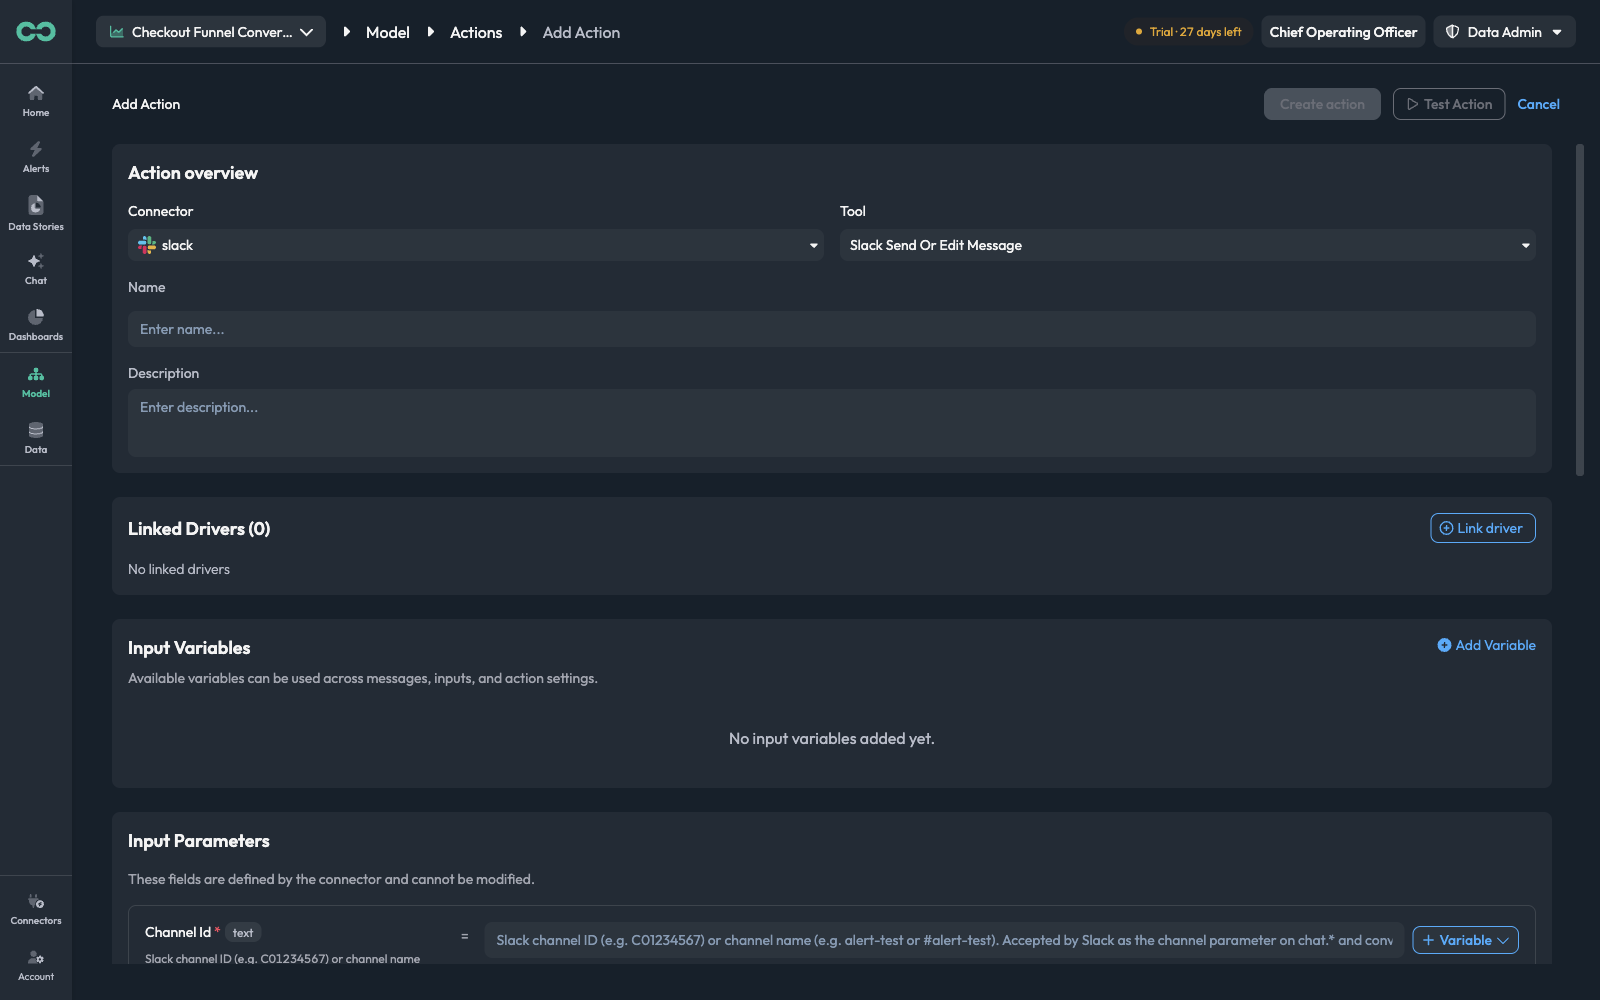
Add Variable declares one.
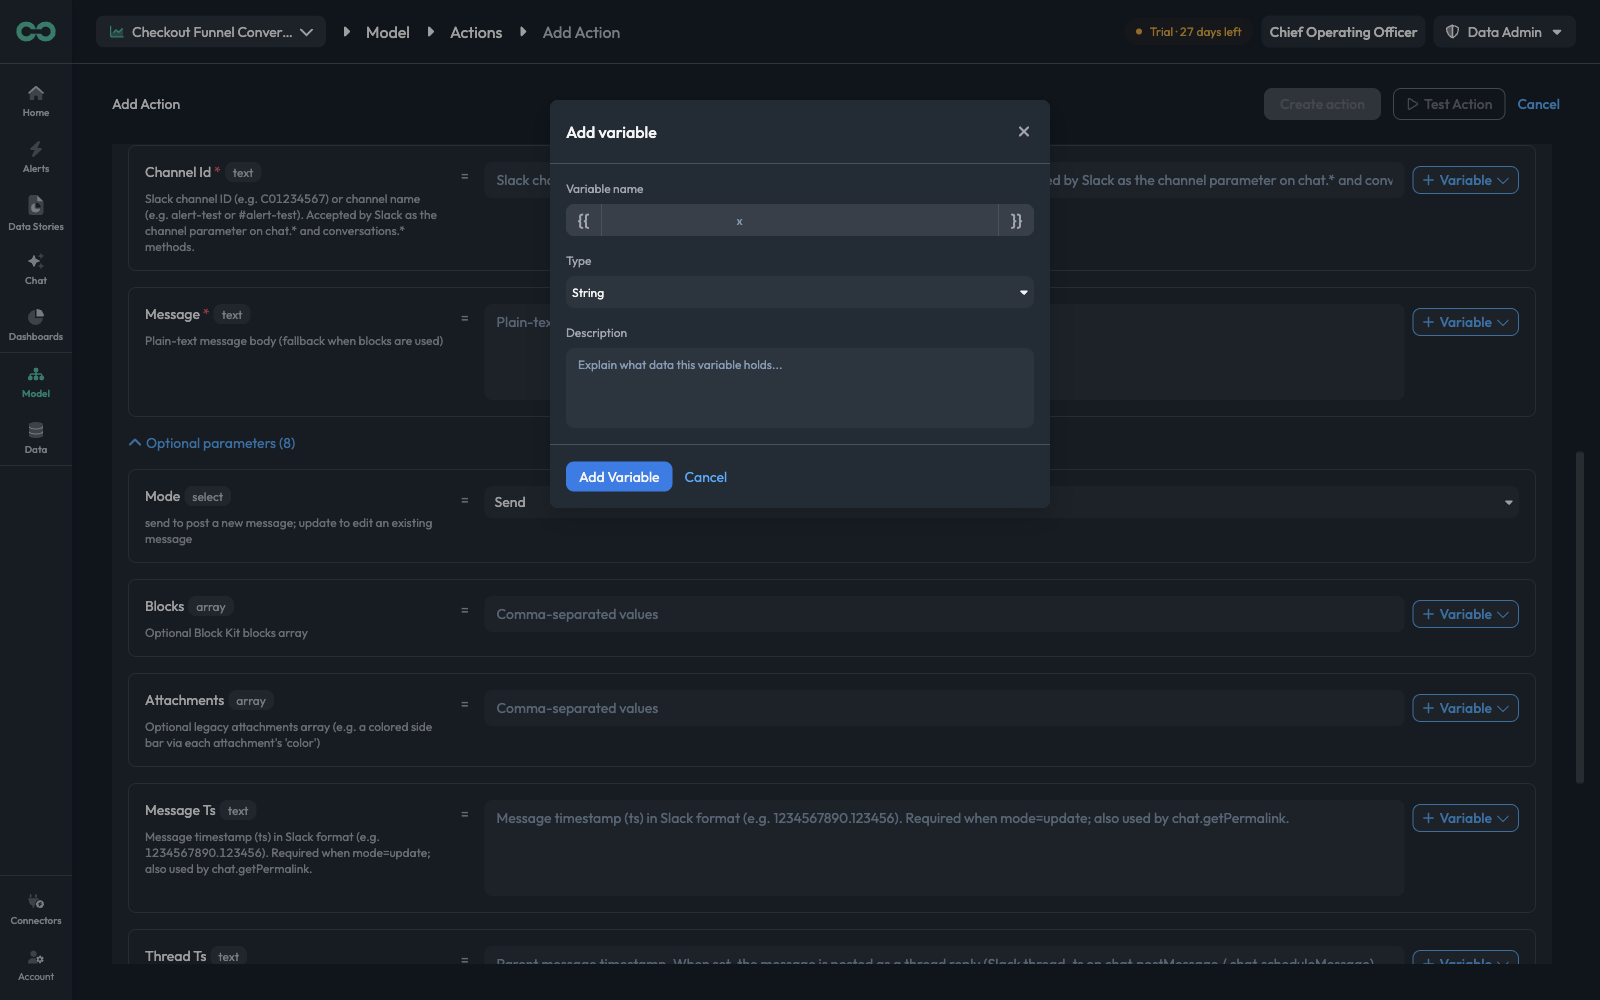
Variable nameThe placeholder name. The modal shows it wrapped in {{ and }} — that is the form you reference it by inside a parameter value.
TypeThe value shape — String and the other types the tool accepts.
DescriptionWhat data the variable holds. This one matters more than it looks: it is what tells the agent which piece of anomaly context to put there.
Declared variables can be used in any parameter, and the panel notes that they are "available... across messages, inputs, and action settings". Insert one with + Variable beside a field, or type {{name}} directly.
{{segment}} with the description "the dimension value the anomaly was detected in — for example the payment method or delivery area" gets filled correctly. {{segment}} with no description is a guess. The description is the instruction.
5. Linked drivers
Link driver attaches this action to the drivers whose confirmation should fire it. The count in the panel header — Linked Drivers (N) — is the action's trigger surface.
An action with no linked driver is inert. You can create it and come back, and attaching it later from the driver side works identically — see Next steps.
6. Test, then create
Test Action runs the action once with its current configuration, so you find out about a wrong channel ID or a missing scope now rather than during an incident.
Testing sends the message, opens the ticket, or triggers the page for real. Point the test at a scratch channel or a test project before you point it at the one your team watches.
Create action saves it to the catalog. Reopening an existing action shows the same form with the header reading Edit action and the save button reading Update action.
Things to know
- Actions fire through drivers, never straight from a pattern. If nothing is happening, check Linked drivers before anything else.
- Two connections to the same tool look alike in the dropdown. They are listed by connection name, so several Slack workspaces appear as several similar entries. Confirm which one you picked with Test Action.
- An unconnected tool cannot be chosen. Editing an action whose connector is no longer available in this tenant will show its connector and tool fields unresolved — reconnect the tool, or point the action at one you have.
- Prefer a thread reply for follow-ups. Setting Thread Ts keeps a sustained incident in one Slack thread rather than posting a fresh channel message on every run.
- Scope the blast radius to the response. A notification can afford to be linked to many drivers. A page should be linked to the one driver that genuinely warrants waking someone up.
Next: Dashboards — charting the KPIs behind all of this.